In this article I’ll cover:
- How to get to Castle Rock Trail (pictures included!)
- Why Castle Rock is a great place to learn how to rappel and climb
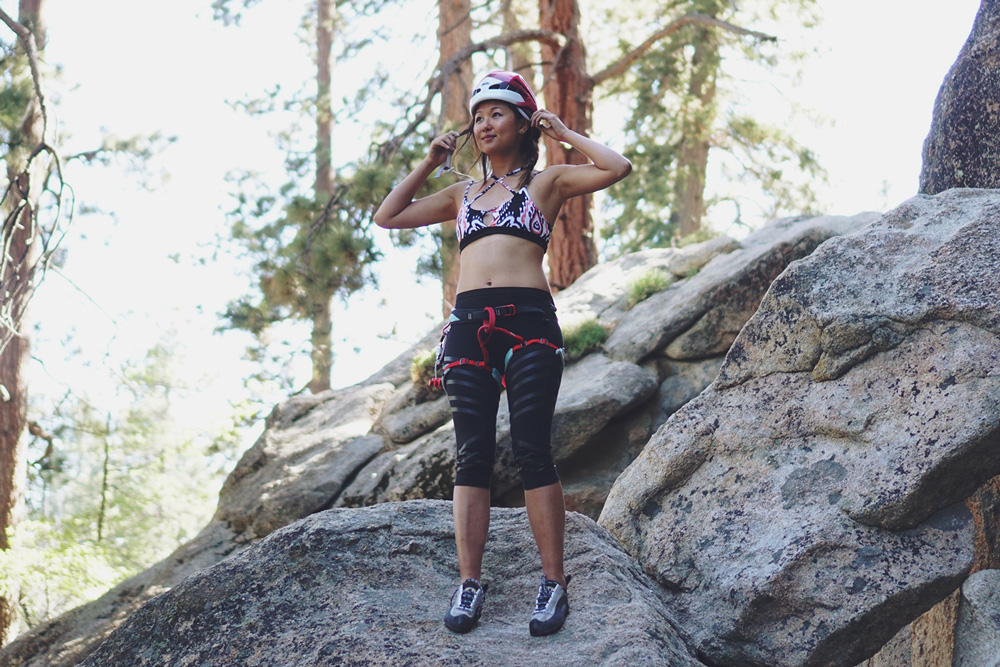
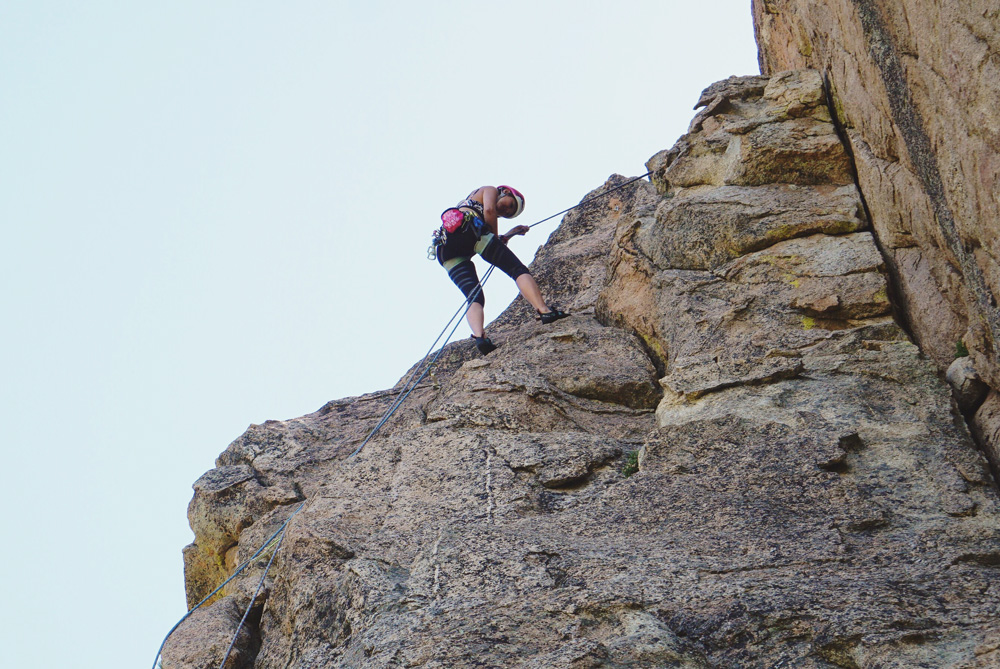 Practicing my rappelling skills!
Until today, I’ve only rappelled down a handful of times. Sometimes I would get lowered down after cleaning a route instead of rappelling because it would take me too long to setup to rappel. Getting lowered is not ideal since doing this will quickly wear out the rappel rings. I don’t want to wear out the rappel rings so I knew I had to practice rappelling. By practicing, I can be ready to confidently and quickly rappel at any time.
Plenty of things can go wrong during rappelling. You can forget to loop the rope through the rappel rings, improperly lock your personal anchor system, setup your rappel device incorrectly, accidentally let go of the rope, your rope can be too short and the list of possible mistakes goes on. Because of the high risk of injury, I asked friends John and Steve to spend a day teaching me how to rappel safely.
How to Get to Castle Rock Trail in Big Bear, CA
We chose Castle Rock in Big Bear, CA to be our training spot. Be warned, the trailhead can be easy to miss. The trailhead is right off the 18 HWY and there is no parking lot. Lucky for us outdoor enthusiasts, Google Maps has placed “Castle Rock Trail” on the map. As of June 2016, you can simply just search Google Maps and get directed to the trailhead. Be sure to DOUBLE CHECK to make sure Google Maps is taking you to the right place. Last year when I did this, Google Maps didn’t have the right location in the database and I was directed to the opposite side of Castle Rock. If GPS takes you onto a dirt road, then you are on the wrong road. Stay on HWY 18.
Google Maps Directions: Castle Rock Trail
Note: As of June 2016, Mountain Project coordinates lead you to the actual wall itself. Use the Google Maps directions for Castle Rock Trail instead of the Mountain Project coordinates.
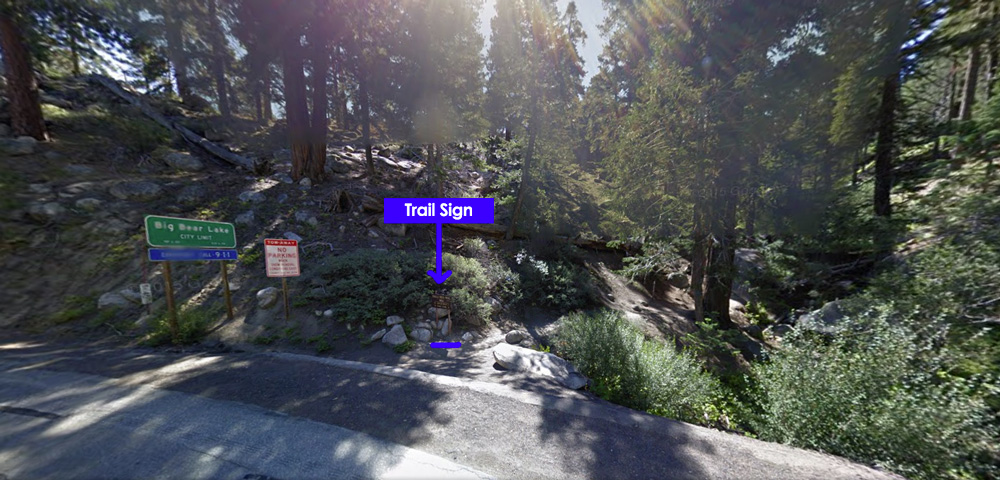 This is where the Castle Rock trail head sign is. Picture courtesy of Google Maps Street View.
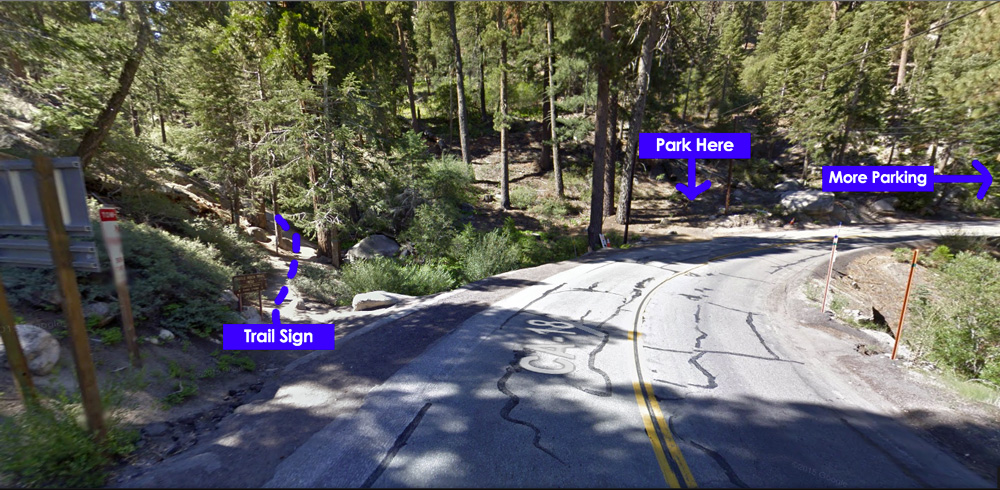 Trail sign and markers on where you can park at Castle Rock! Image courtesy of Google Maps Street View.
Once you have located the trail head sign, park at one of the pullouts before or after the sign. You will not need an Adventure Pass. The trail is well-maintained and takes you through beautiful scenery for 15-20 minutes before you reach the East Face of Castle Rock. The approach (hike) in not easy. The trail is steep but luckily the approach is short. Be aware of which trail you are walking on . There are several small trails that lead you elsewhere (not sure where they lead). Stay on the main trail and look for the occasional sign directing you to Castle Rock. Make sure you have some water handy for the hike and don’t leave it deep in your backpack like I did 😥 .
Why Castle Rock is a Good Place to Learn How to Rappel
Castle Rock is a bomb place to learn how to rappel. The weather is usually mild and the wall is in the shade for most part of the day. There are cracks close to the ground where you can stick cams into to create a mock anchor and practice setting up to rappel on the ground. Once you’re ready to descend from the top, you and your trainer can go to the top of East Face (right side). The 5.5-5.9 routes all share the same bolted anchor. At the anchor, there is a ledge at the top where 2 people can stand comfortably and talk through the process of rappelling.
Once you are done learning/training how to rappel, you can climb on the 28 routes the crag offers. The grades at this crag range from 5.5-5.11. There is a route to climb for people of all levels! You can find top rope routes, sport routes, and trad routes here. Best season to climb here is late Spring, Summer, and Fall.
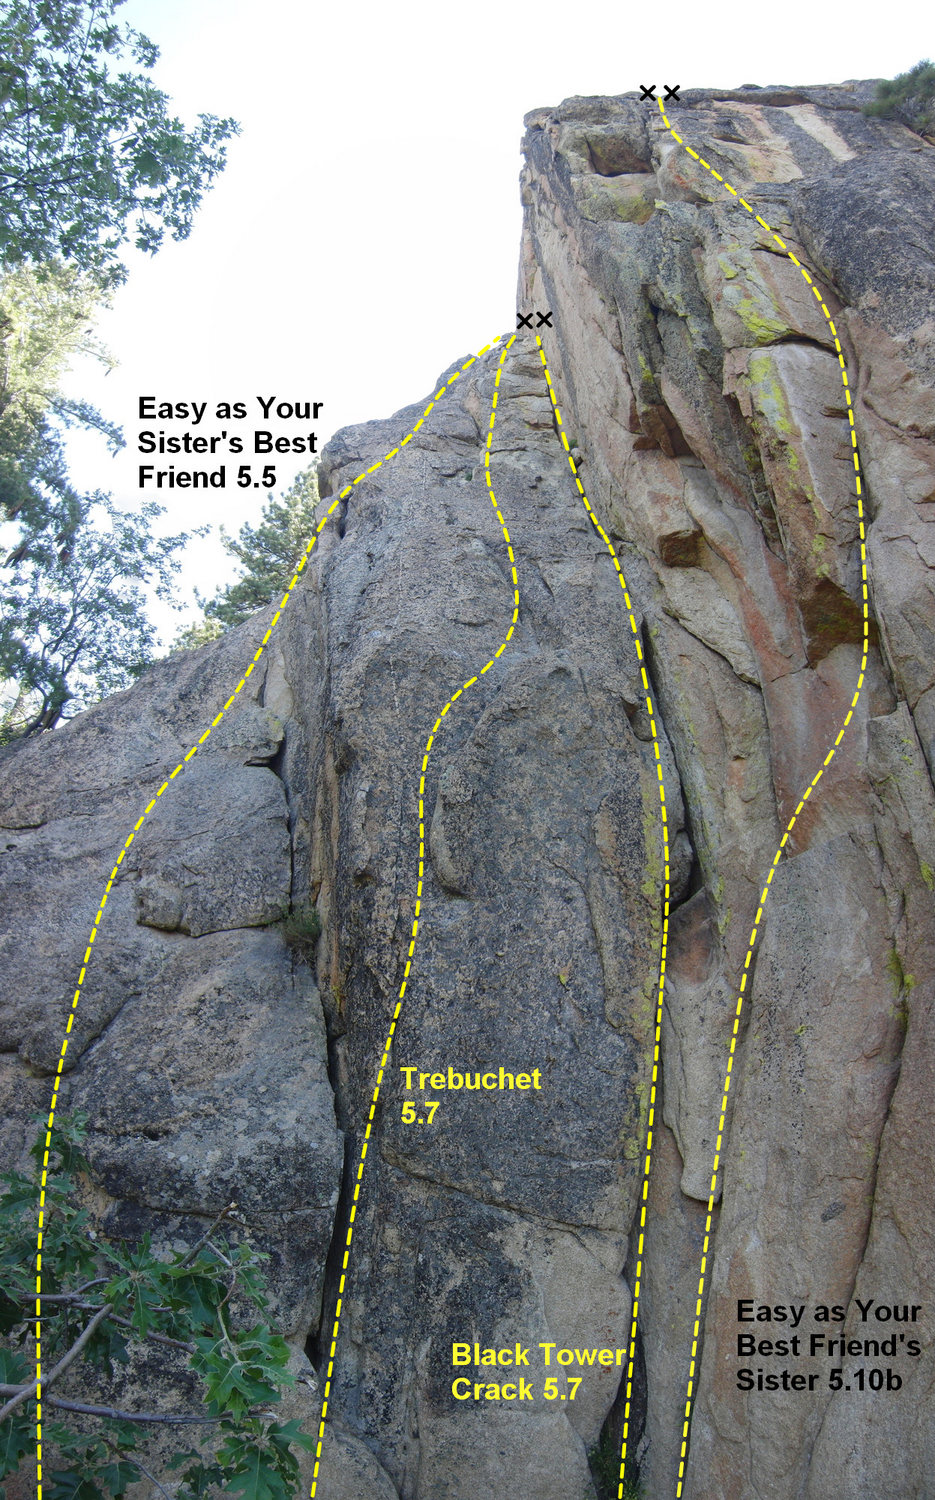
Image courtsey of Chris D. at Mountain Project
Practicing How to Setup Rappelling On the Ground
Steve had me setup an anchor close to the ground so that I can comfortably practice setting up to rappel. It was fun setting up my own anchor! I had to determine which gear I wanted to use, select the right gear size, stick the gear in at the right angle, and then make sure my anchor was secure. After I placed some bomb pieces, I put the slings on, made sure it was equalized, tied a knot at the end, and then I placed two opposing carabiners at the end of the knot. I flaked out my rope and tied one end of the rope to my harness using a double figure 8 knot. I then clipped the rope that was attached to my harness into the two opposing carabiners on my anchor. Now I was setup to practice some real rappelling!
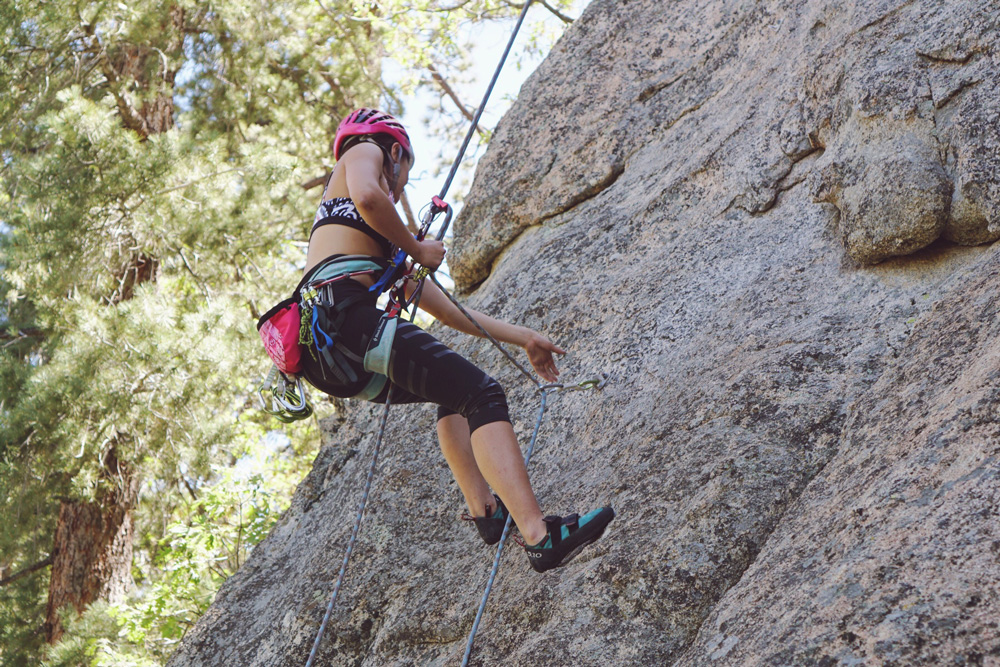
Practicing How To Rappel
I practiced setting up a few times before I got Steve’s stamp of approval for me to rappel down on my own. I climbed up Black Tower Crack (5.7) with John. At the top John carefully watched me setup to rappel. After I had thrown down both sides of the rope, John set himself up to rappel down first. John waited until I was 100% setup and we double checked each other for safety. John and I gave each other approval to climb down and then he started rappelling down first. After John made it to the ground, I double checked my setup and then began my descent!
I descended slowly at first. Once I got used to lowering myself, I began to lower myself a little faster. When I finally made it to the ground I felt really confident that I could do this all by myself! I climbed up Easy As Your Sister’s Best Friend (5.5) (haha to route’s name) and rappelled down by myself. SUCCESS! *Fist pump*

